
TWO BECOME ONE
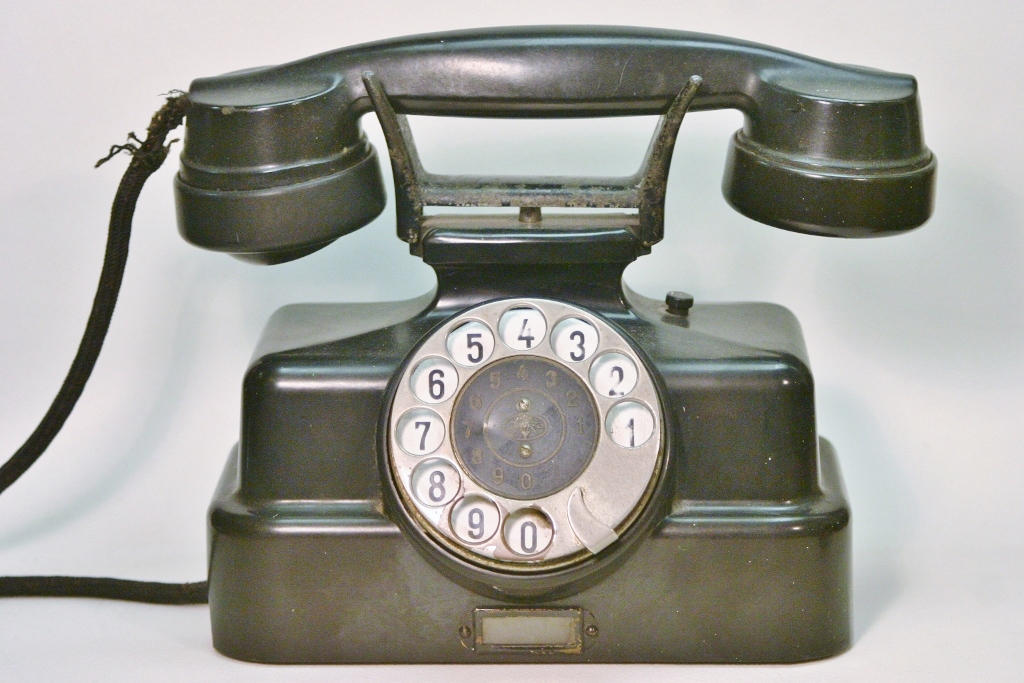
These telephones have always intrigued me. They were often pictured in PTT adverts in the 30’s, especially by N.P. de Koo, a famous graphic designer. Now these telephones have all but disappeared.
They were never produced in great numbers. Most of the ones that where still around in were refurbished in the 50’s. They changed the dial and handset. An original one is very hard to find indeed. Of course I wanted one really bad.

So I bought some of these through the years. The first ones were refurbished ones. I’ve been trying to get an original dial and handset, but after years of searching I haven’t found very much.
Click here to find some more information about this telephone.
There are basically 3 versions of the desk phone. A normal desk telephone, a multiline version, and a wall telephone.

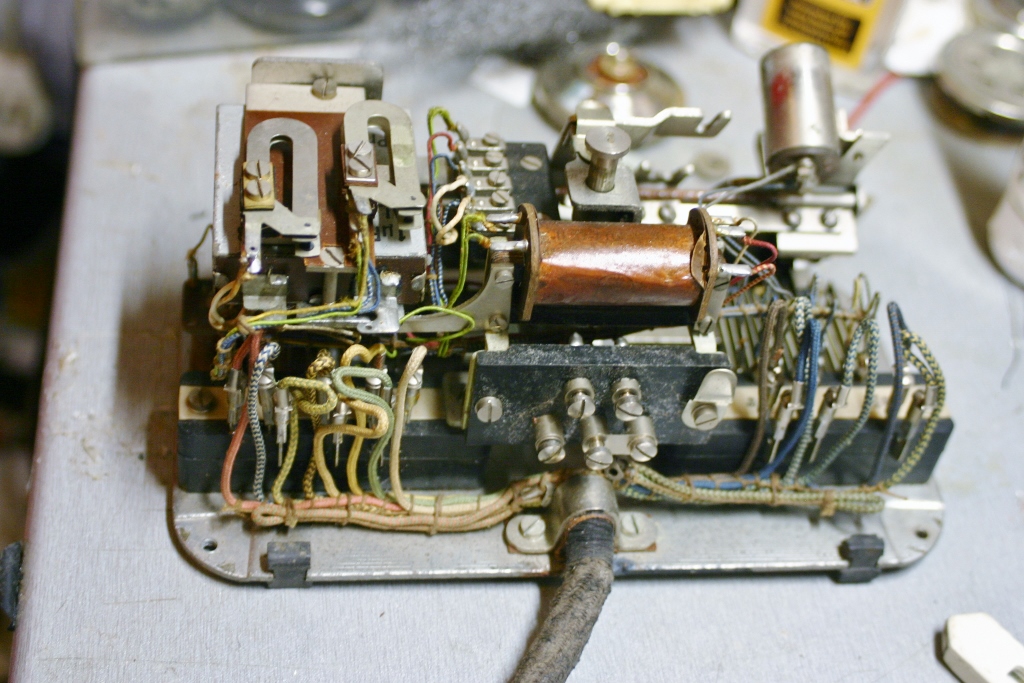
I have started work on a line selector. I chose this one, because I have a good refurbished one, and a damaged one with original handset and dial. Enough parts to make one original whole again.
Testing and cleaning
First I made sure the telephone actually works. I like all my phones to work properly. Knowing the telephone works makes trouble shooting after reassembly a lot easier.

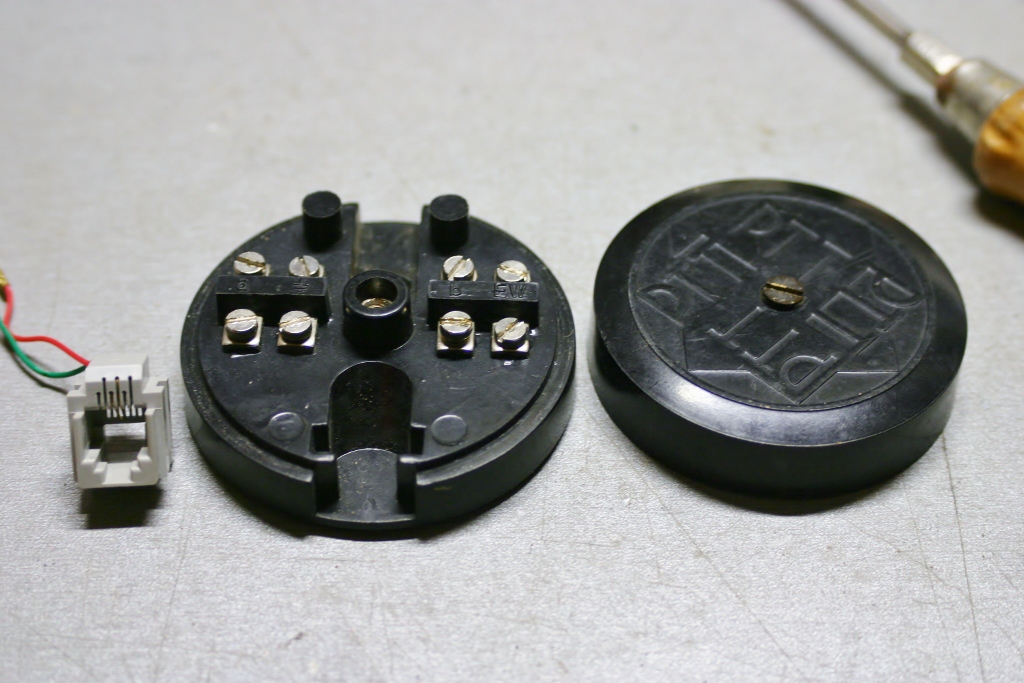
In this case someone has added a buzzer to it. Originally this telephone had no sonic signalling device.
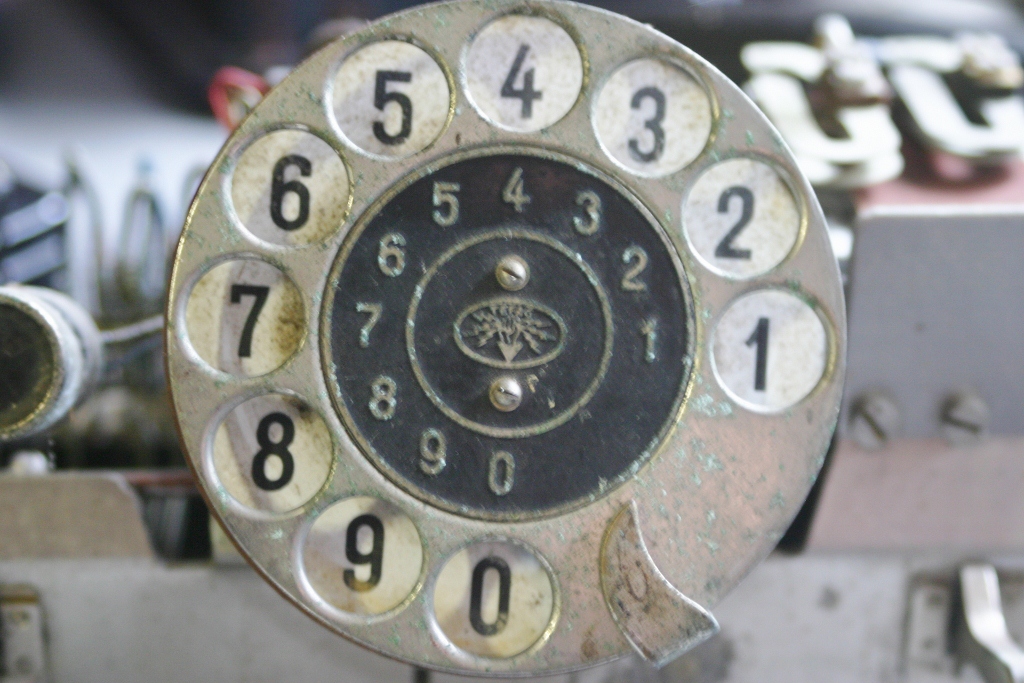
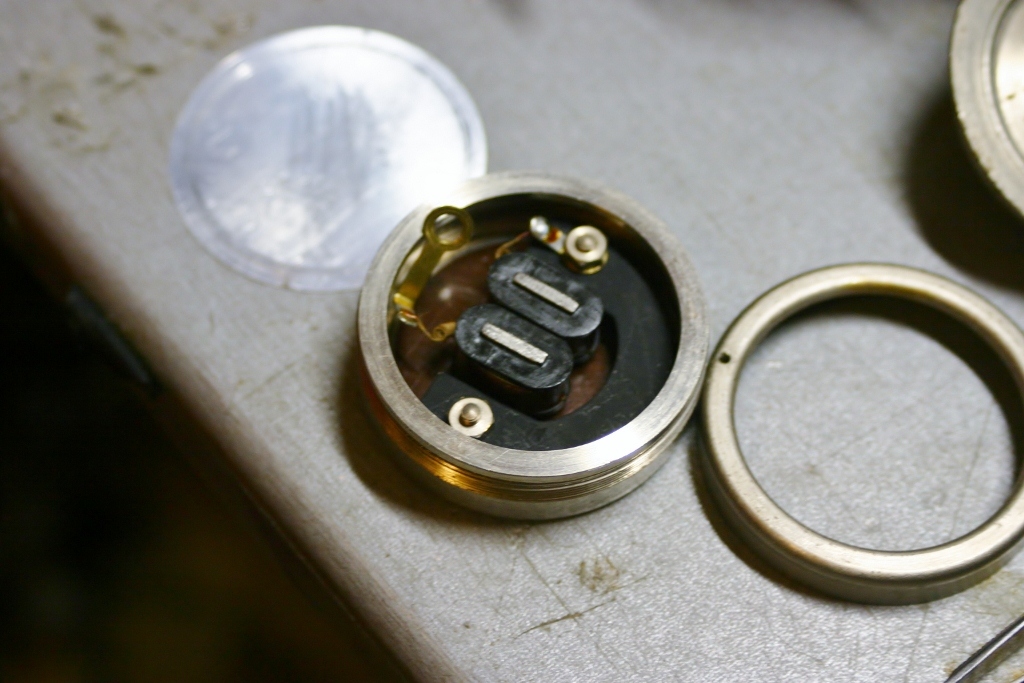
It originally only had so called blinker, an optical signalling device. It is the round thing left of the dial. It indicates a little white star with the pulses of the ringing signal.
Next I disassembled the telephone and washed alle the parts of the casing, cradle and handset in warm water and soap. Afterwards I polished all the bakelite parts.
I disassembled it completely, cleaned all the parts and polished the parts of the dial face. There was some oxidation and a lot of dirt. I had to rewind the spring and recalibrate the mechanism.
FEET
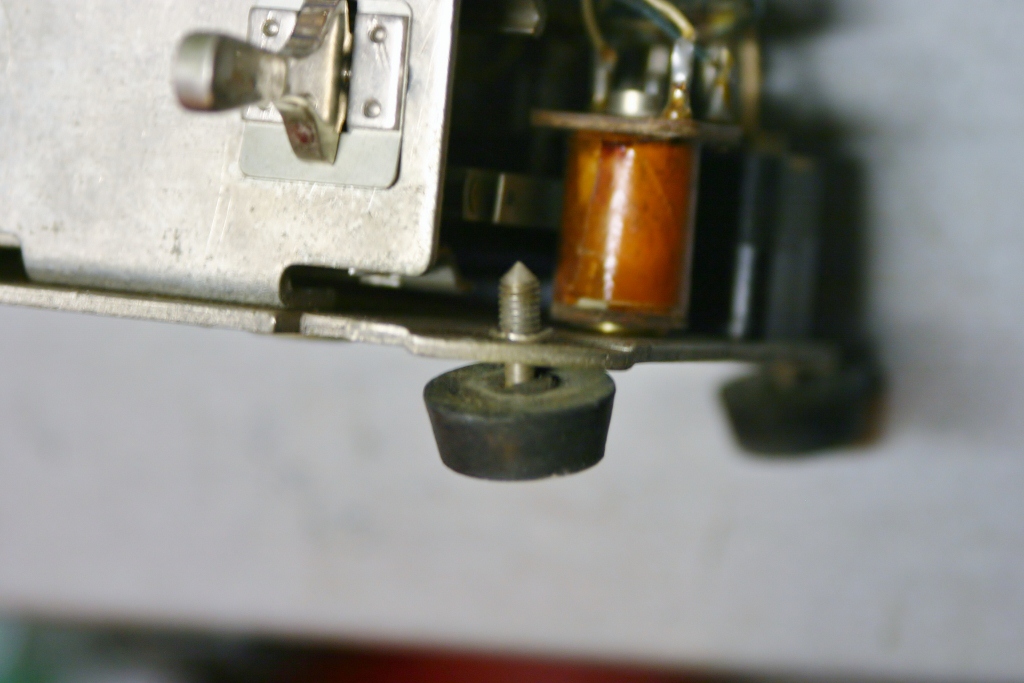
Next step: feet. When the phone was refurbished in the 1950s the feet were changed for a different kind. The main reason was probably the original feet were worn and new parts were unavailable.
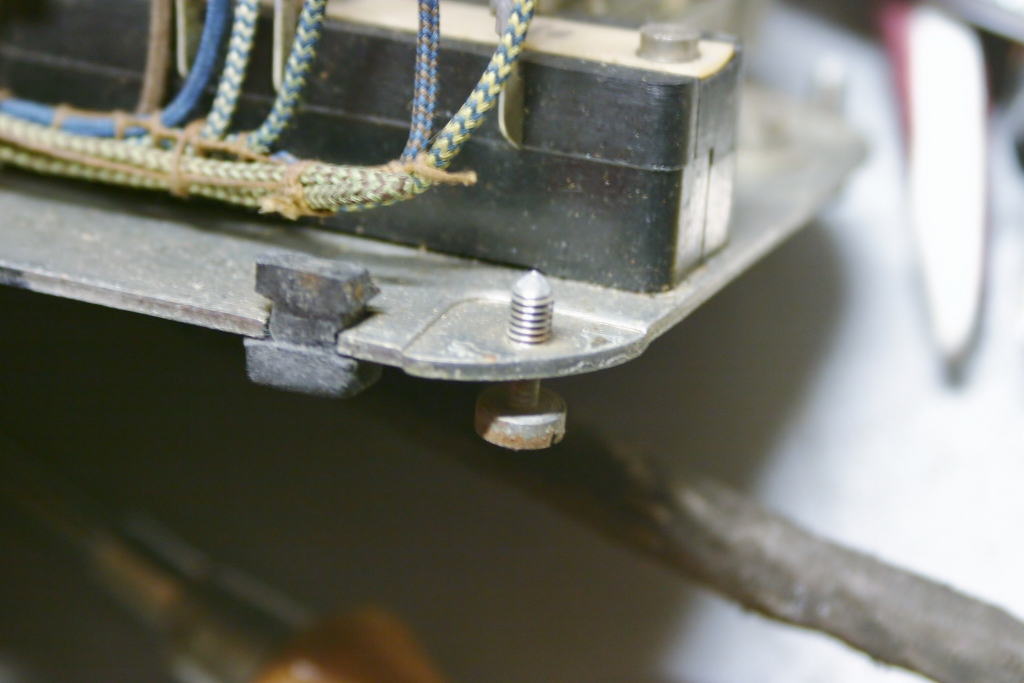
Luckily the donor phone provided me with original feet and bolts to fasten the housing.
Originally the holes for the bolts were threaded. Alas they were bored out when the phone was overhauled. So I had to put on rings to prevent the
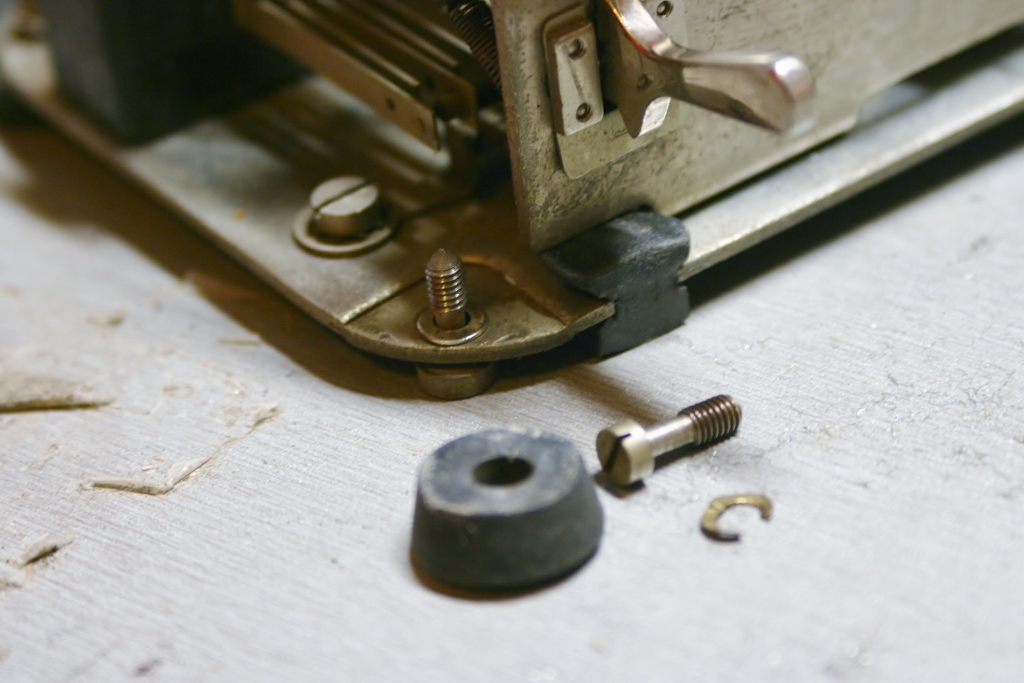
bolts from falling out. For a while I contemplated changing the baseplate of the phone with the one from the donor phone. That would lose me the original date stamp and would mean a lot of work. So I came up with this solution. It is not visible from the outside.
WIRING WIRING WIRING
Now wiring, looooooooooooooots of wiring.
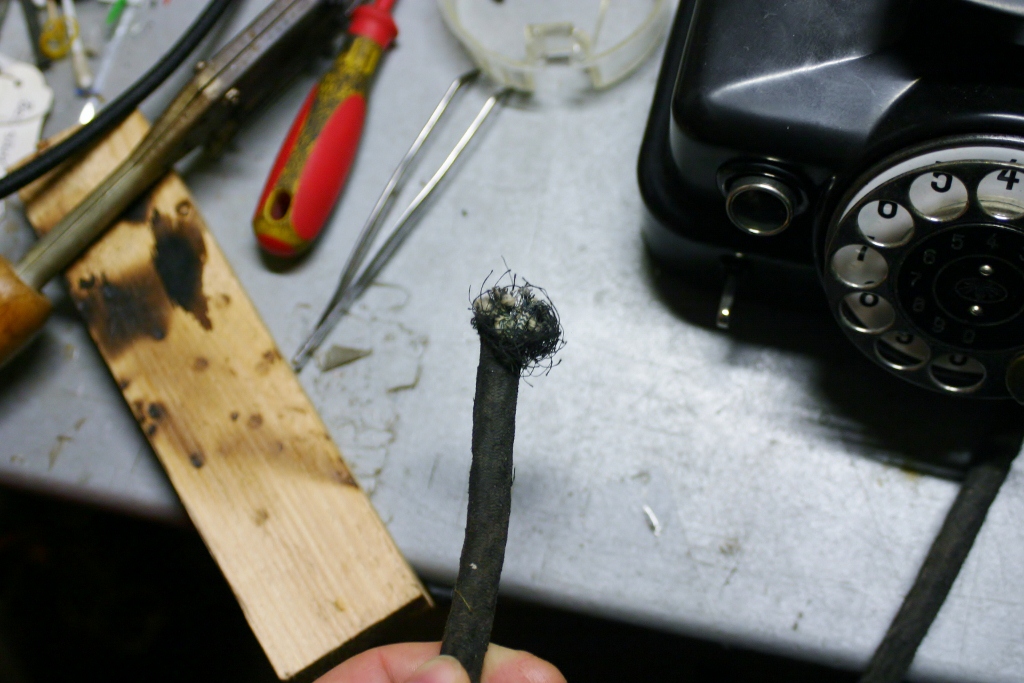
The donor phone still had a large piece of connecting cable. It was about 1,5 mtr long (5 feet) and in reasonable condition. Originally a switching box would be attached to it. I wanted to preserve and use that cable, to stay close to the original condition of this telephone.
Transferring the cable would be easier said than done. Before doing that, I have to solder missing connectors (terminals) back.
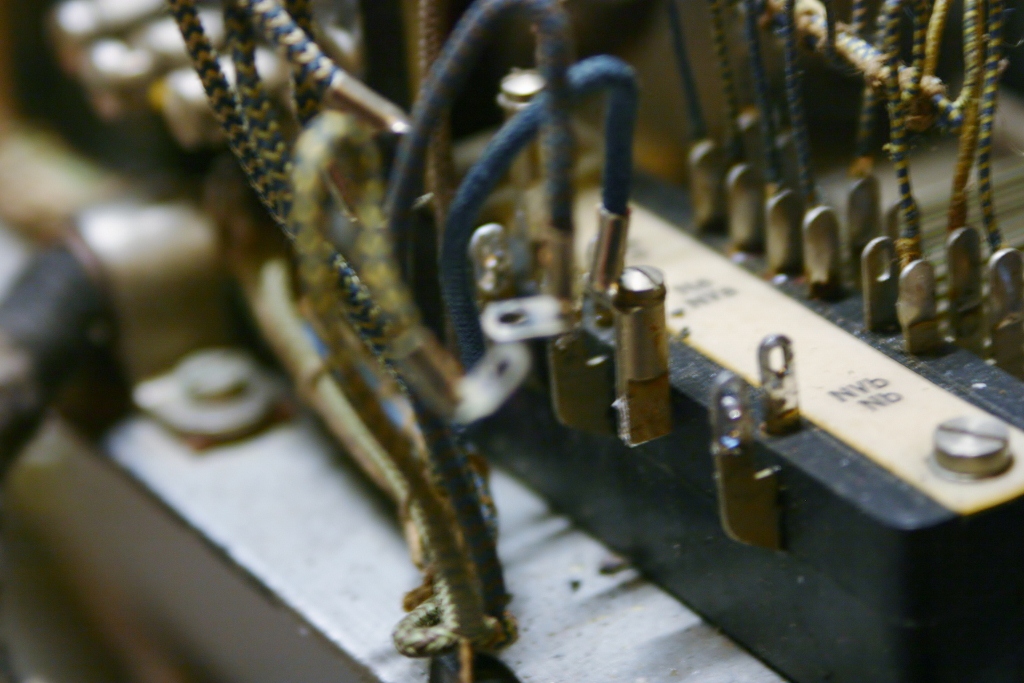
The picture on the right shows the donor phone. I have already soldered some of the connectors loose and put them on the other phone.
You can also see that the wires have eyelets. So to transfer the cable from on phone to the other I have to unscrew every screw untill they are all the way out. That makes transferring the big connector wire very fiddly! Now I understand why they started using spades.
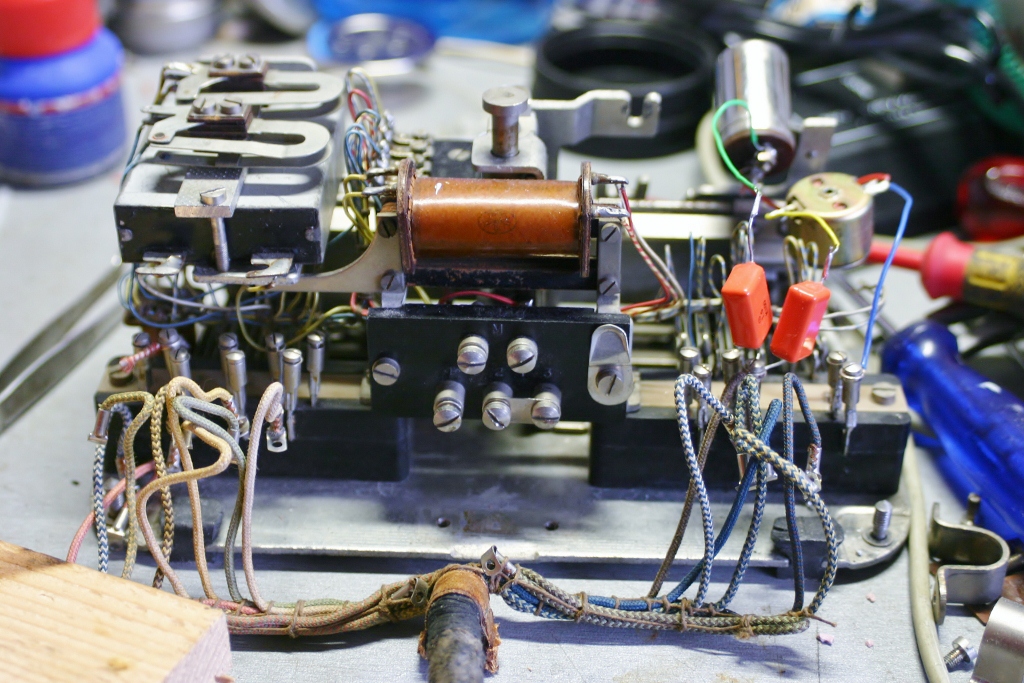
Here you see the cable, waiting to be connected up. All the small connectors are soldered back in place. 5 were missing on the right. Also the wiring of the buzzer has been redone.
After one hour the cable was connected up. Some screws were missing washers, so I had to replace them.
The big fat connector cable is transplanted to the phone. Really fiddly and a job that makes your eyes water. Looks great now, with all the wires in place.
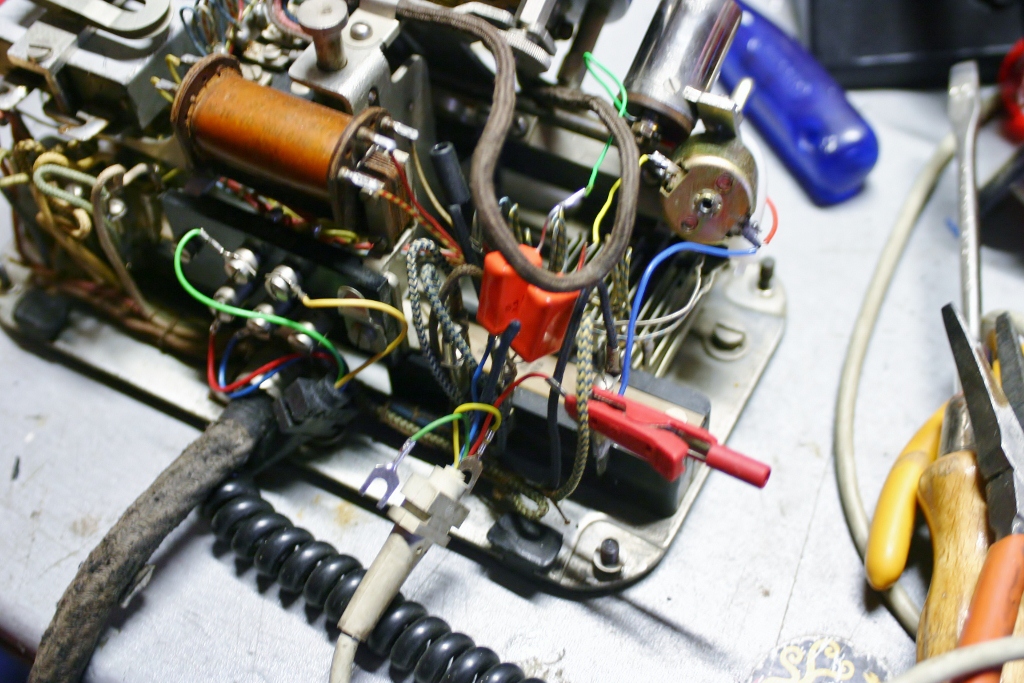
Now I connected the dial back up for testing. That was quite a difficult dial to adjust. Connected my testing handset and connect the phone up to my PBX with a testing cable. The big cable will be tested later. First see if the phone works. And………..it does. Buzzer works, blinker works, dial works perfectly. Big smile.

Here you can see the new wiring for the buzzer. I did not have matching wiring, so I decided to use different wires with bright colors. It is solid core wiring, just like the rest. I soldered salvaged eyelets to the wires to connect everything up. Firtst I thought I would let the wiring keep the buzzer in place. But a shock to the phone would bend the wires and displace the buzzer, which may cause malfunction. So I used a tie wrap to hold it in place.
Connecting the phone: a little more wiring and some modifying
Here is the other end of the connector cable. It has 20 wires or so in it. Unfortunately the bare wires in the phone were discolored. So to match the freshly uncovered wires from one end to the discolored wires on the other, I had to test all of them. I was trying to find the 2 wires I needed to connect the phone to an outside line. As you can see you cannot fit a normal plug to this cable. It is far too thick. An RJ connector would not be practical.
On the left is a standard PTT terminal box. These were used in the 40ies, 50ies and 60ies. Before the WW2 similar boxes were used. Plugs and wall sockets were only common from the 60ies onward.These are made of bakelite and quite common. I have a lot of them. I had the idea to use some of them and putting female RJ-connectors in them.
The PTT logo on the box was designed in the 30ies and fits really well with this phone.

The terminal box is adapted so the cable can be inserted and an opening is made for the RJ-connector. With the RJ-connector slotted in place and the cable connected, it is easily connected to the telephone line with an RJ cable. Fits really well with this phone and cable.
Receiver cap
Now with everything assembled, the receiver is dead. Everything else works fine, dialling, transmitting, line swith, blinker. As it is an rare and odd type I do not have a replacement, so I opened it up to see what is wrong.
It appears a small bracket has come loose. It was fasteened at the bottom of the receiver and has broken loose. I clamped it in place, which was the hard part, and soldered it back. The receiver now works, albeit faintly. I’m going to try to improve its sound level later.

There! Finished and working. Happy? Yes, but I could be a little happier. I do need to sort out that receiver issue and the original rubber feet aren’t great. They have hardened over the years which makes the phone prone to sliding when dialing. I’ve had it connected in the livingroom for a couple of weeks.
Another one to do!
This is the regular single line version of this phone. Still unrestored and I am trying to find a handset for it. The handset pictured now is a replacement made by Ericsson. And then I’ll make new rubber feet for both phones.

This phone was the iconic PTT phone from the 30ies. When PTT pictured a telephone, they almost always used this model. To illustrate that, pic 3 is a photo from 1940 of 2 PTT engineers on their way. On the front of their bicycle is the silhouet of this telephone.
Hope you enjoyed reading this!
Leave a Reply